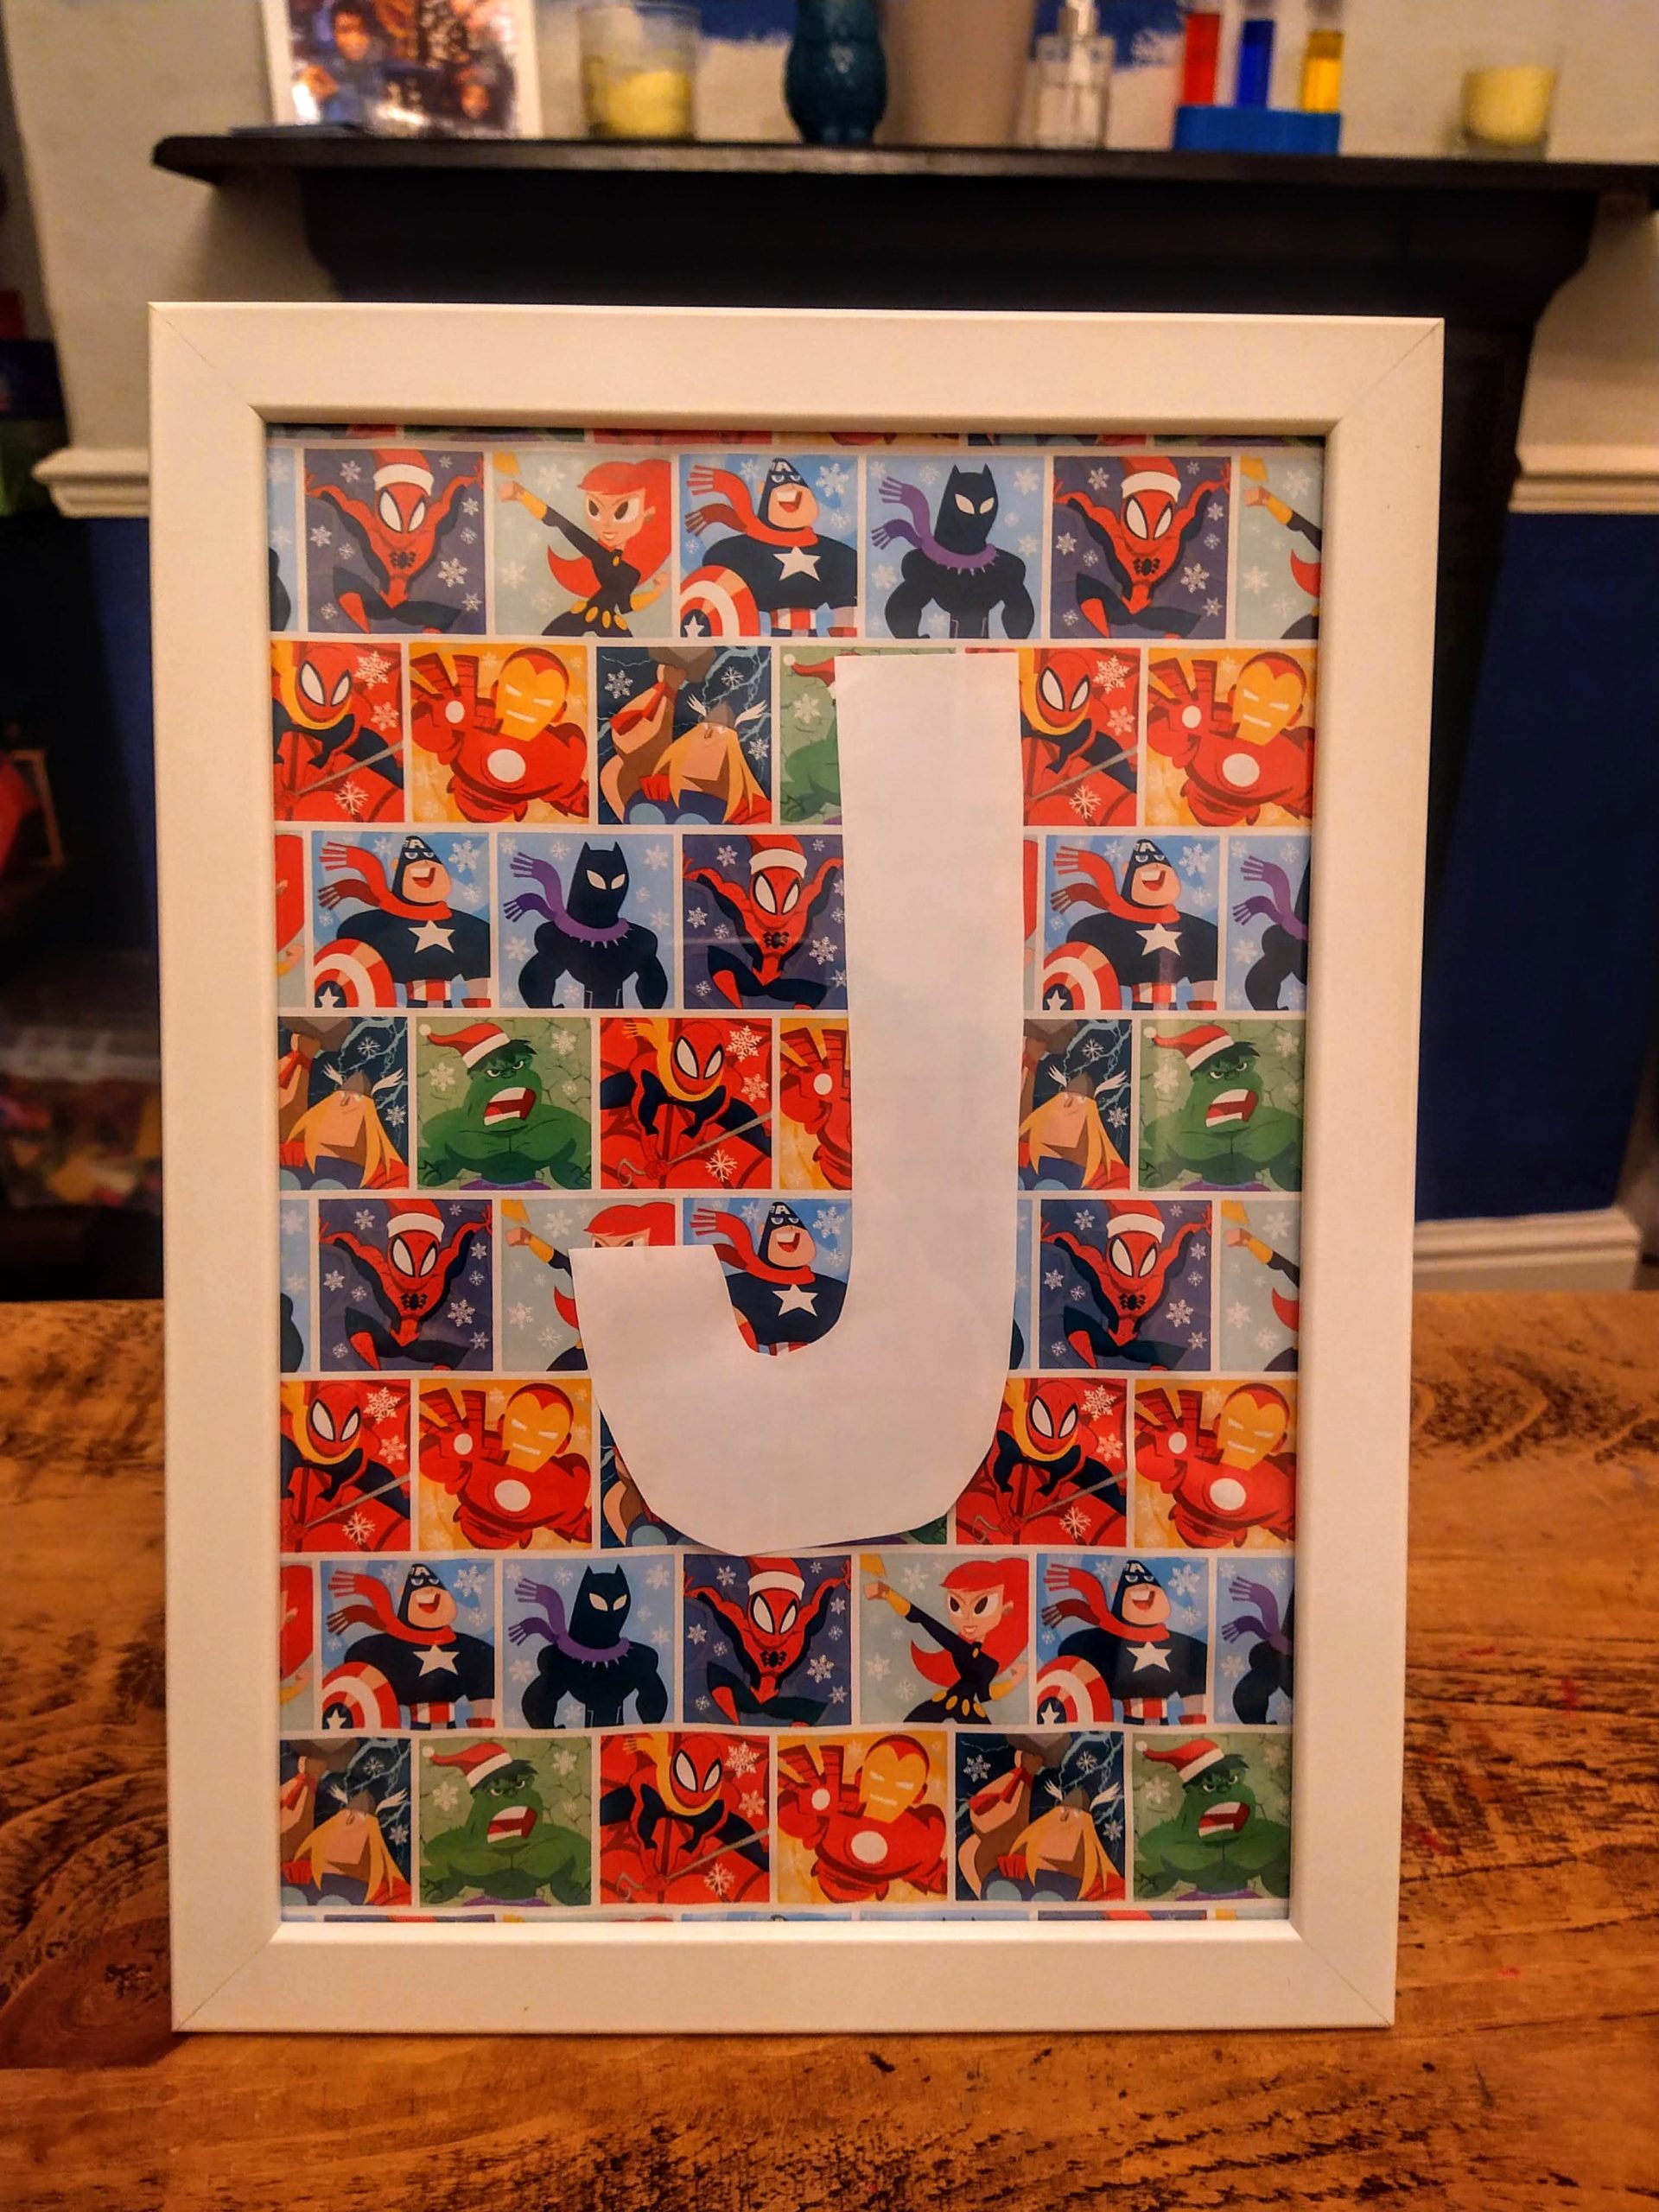
Personalised Kids Name Decor
So this idea for a personalised kids name for their bedroom just popped into my head. I created this speedy design in under five minutes and most of that was trying to peel the protective plastic off the frame. This is made with just a photo frame, wrapping paper (or wall paper) and a cut out letter. I made this one using this multi pack of photo frames I found on Amazon and some left over Christmas paper. But if I do say so myself it looks really good. It didn’t even require glue just a pair of scissors and a pen to mark out the size of the frame. Obviously in true Jenny style I put very little effort in but you could really make this spectacular.
If your kids are anything like mine then they love everything and their interest will change day by day. One day it can be superheroes the next day paw patrol then anything from Elena of Avalor to Miraculous. This means picking a theme is an exhausting task and you can never buy just one of something or its sulky faces and mum guilt. I wanted to buy a name in a frame type but they are all so specific to a theme – animal, superheroes etc and I begrudge buying something for it to not be cool in a few years. So i decided to avoid a theme all together and let them make their own.
If you want something similar but more of a craft like the personalised canvas signs you could do the same technique show in that blog. Cut a piece of card to the size of the frame, apply your design using masking tape and paint. Voila a personalised frame. Or if you are like us we have so many stickers from magazines and random packs you could use these to create a decorative backing and a letter over the top. No painting involved and this way you can add as many themes and characters as you want and have a chance to reduce the ever growing sticker collection. The ideas are flying out of my brain now that I have turned it on.
Materials
- Photo frame
- Wrapping Paper
- Scissors
- Paper for letter
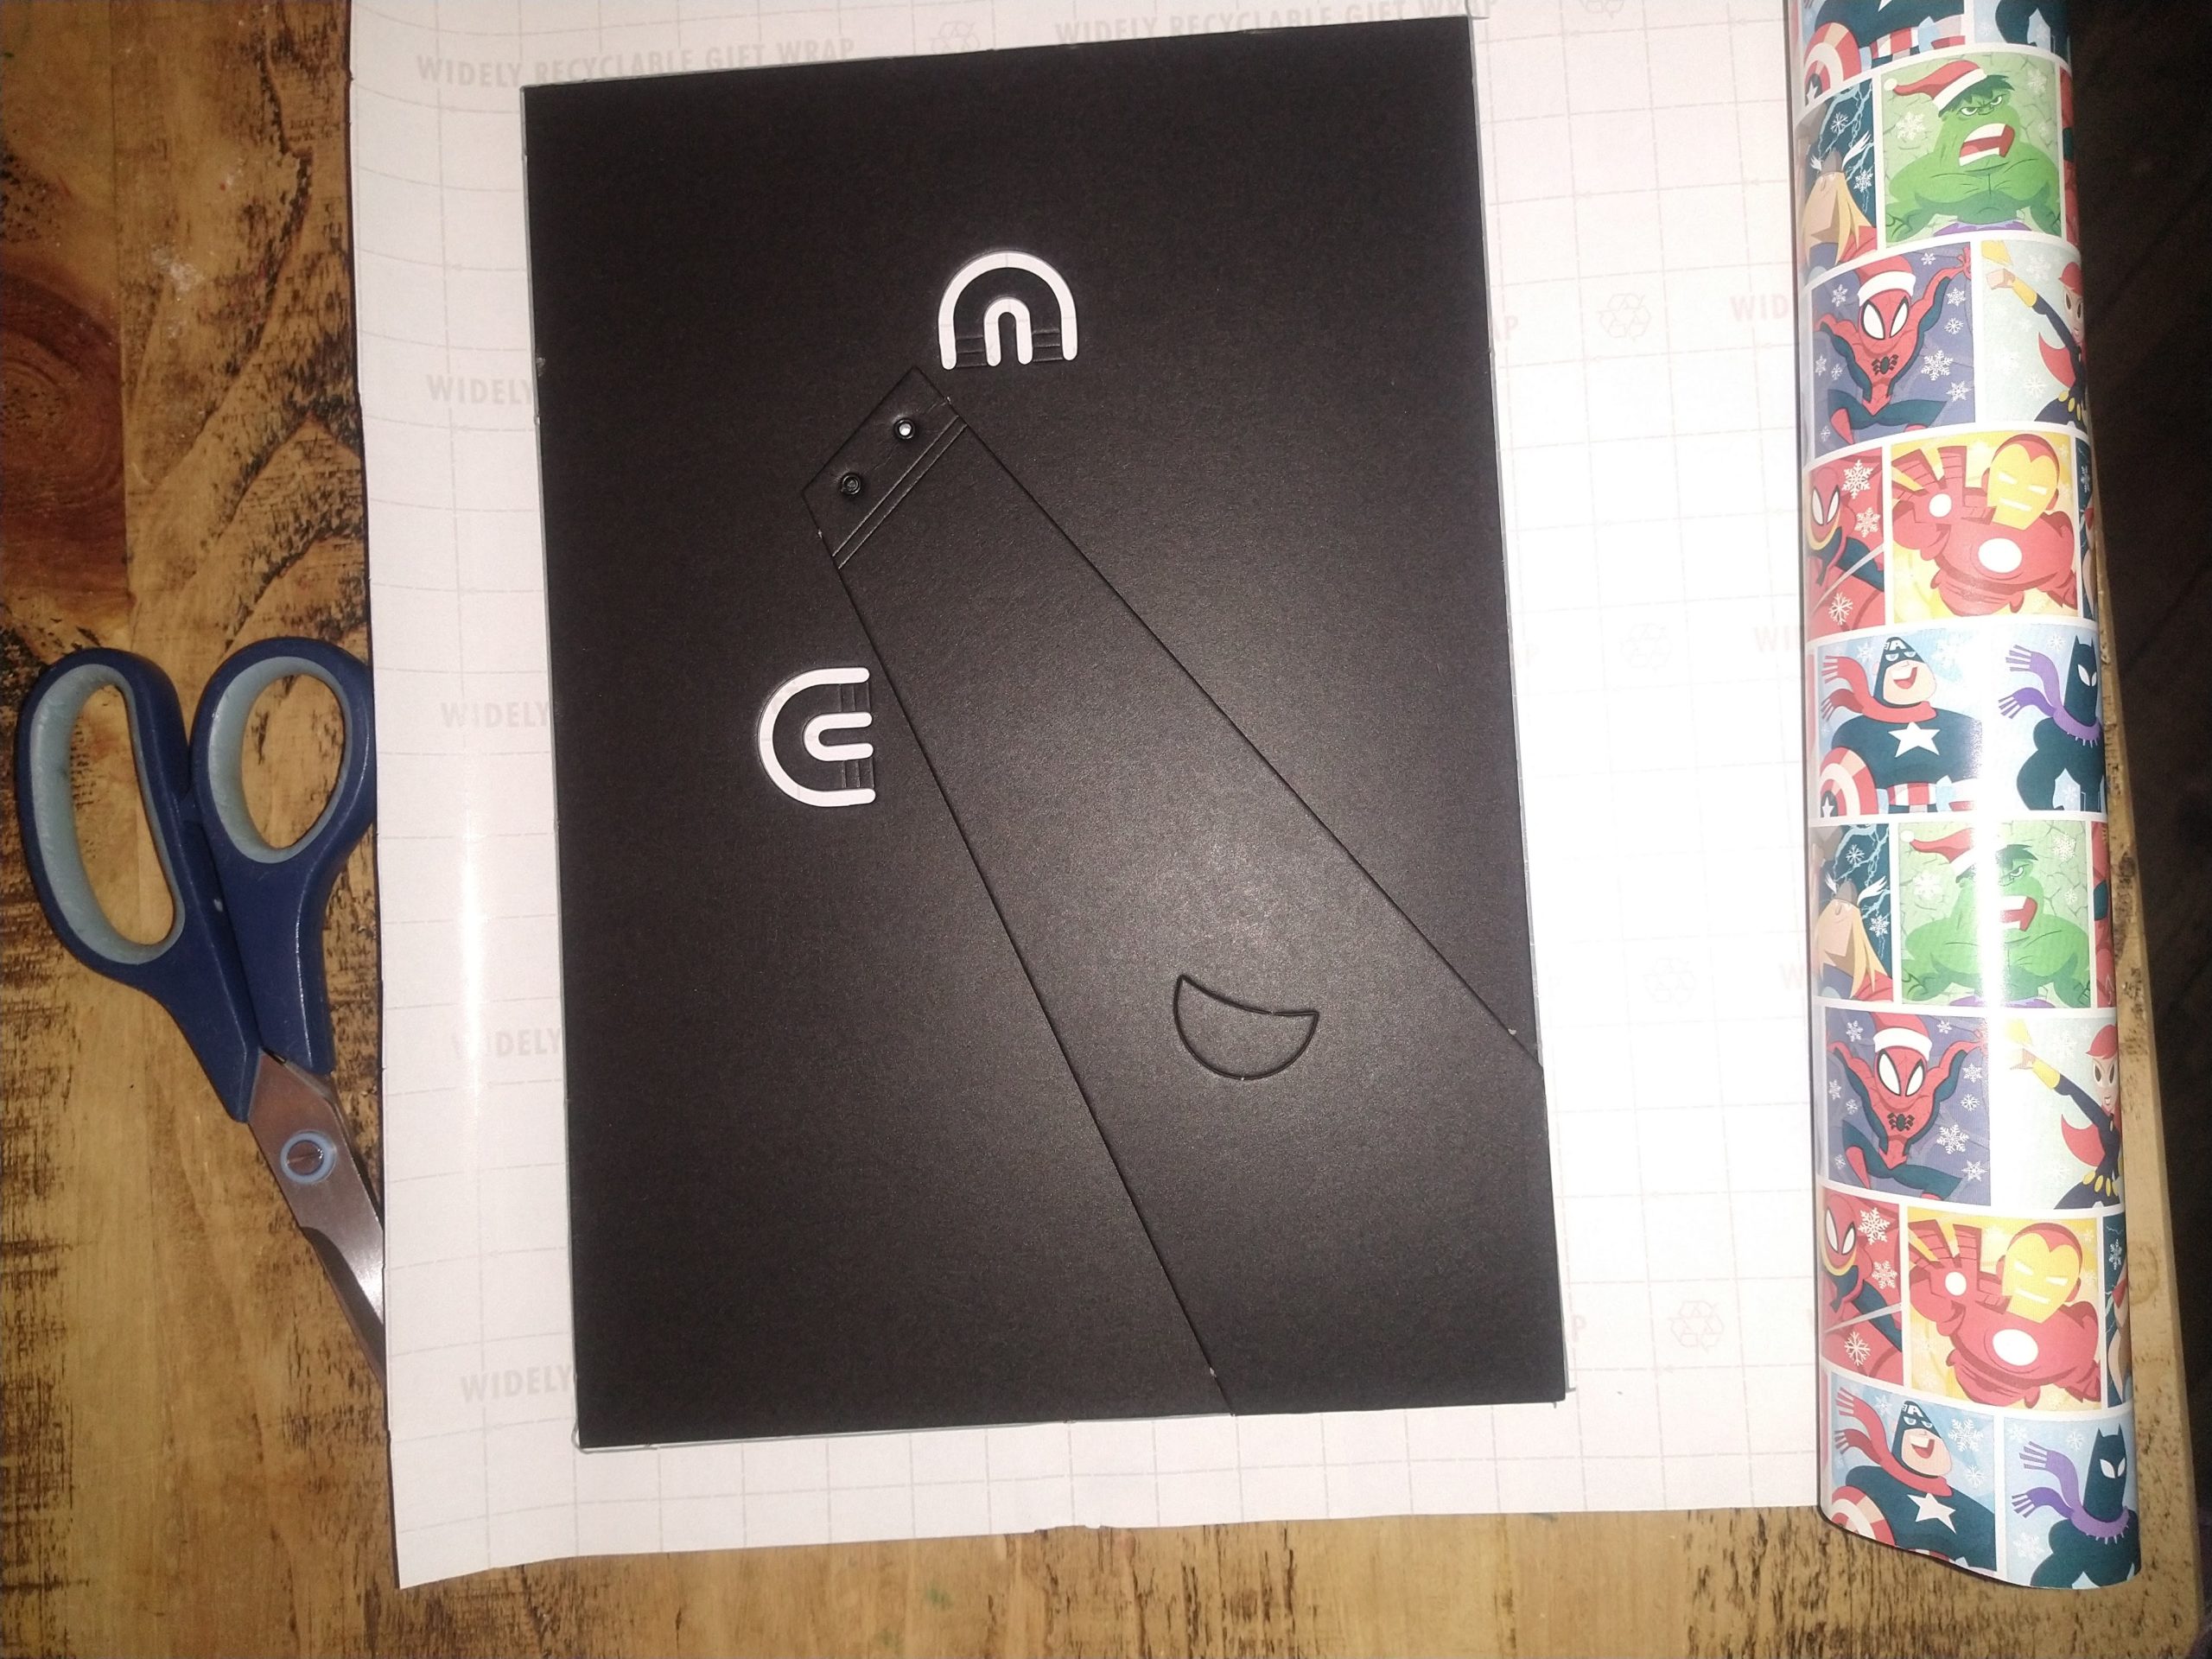
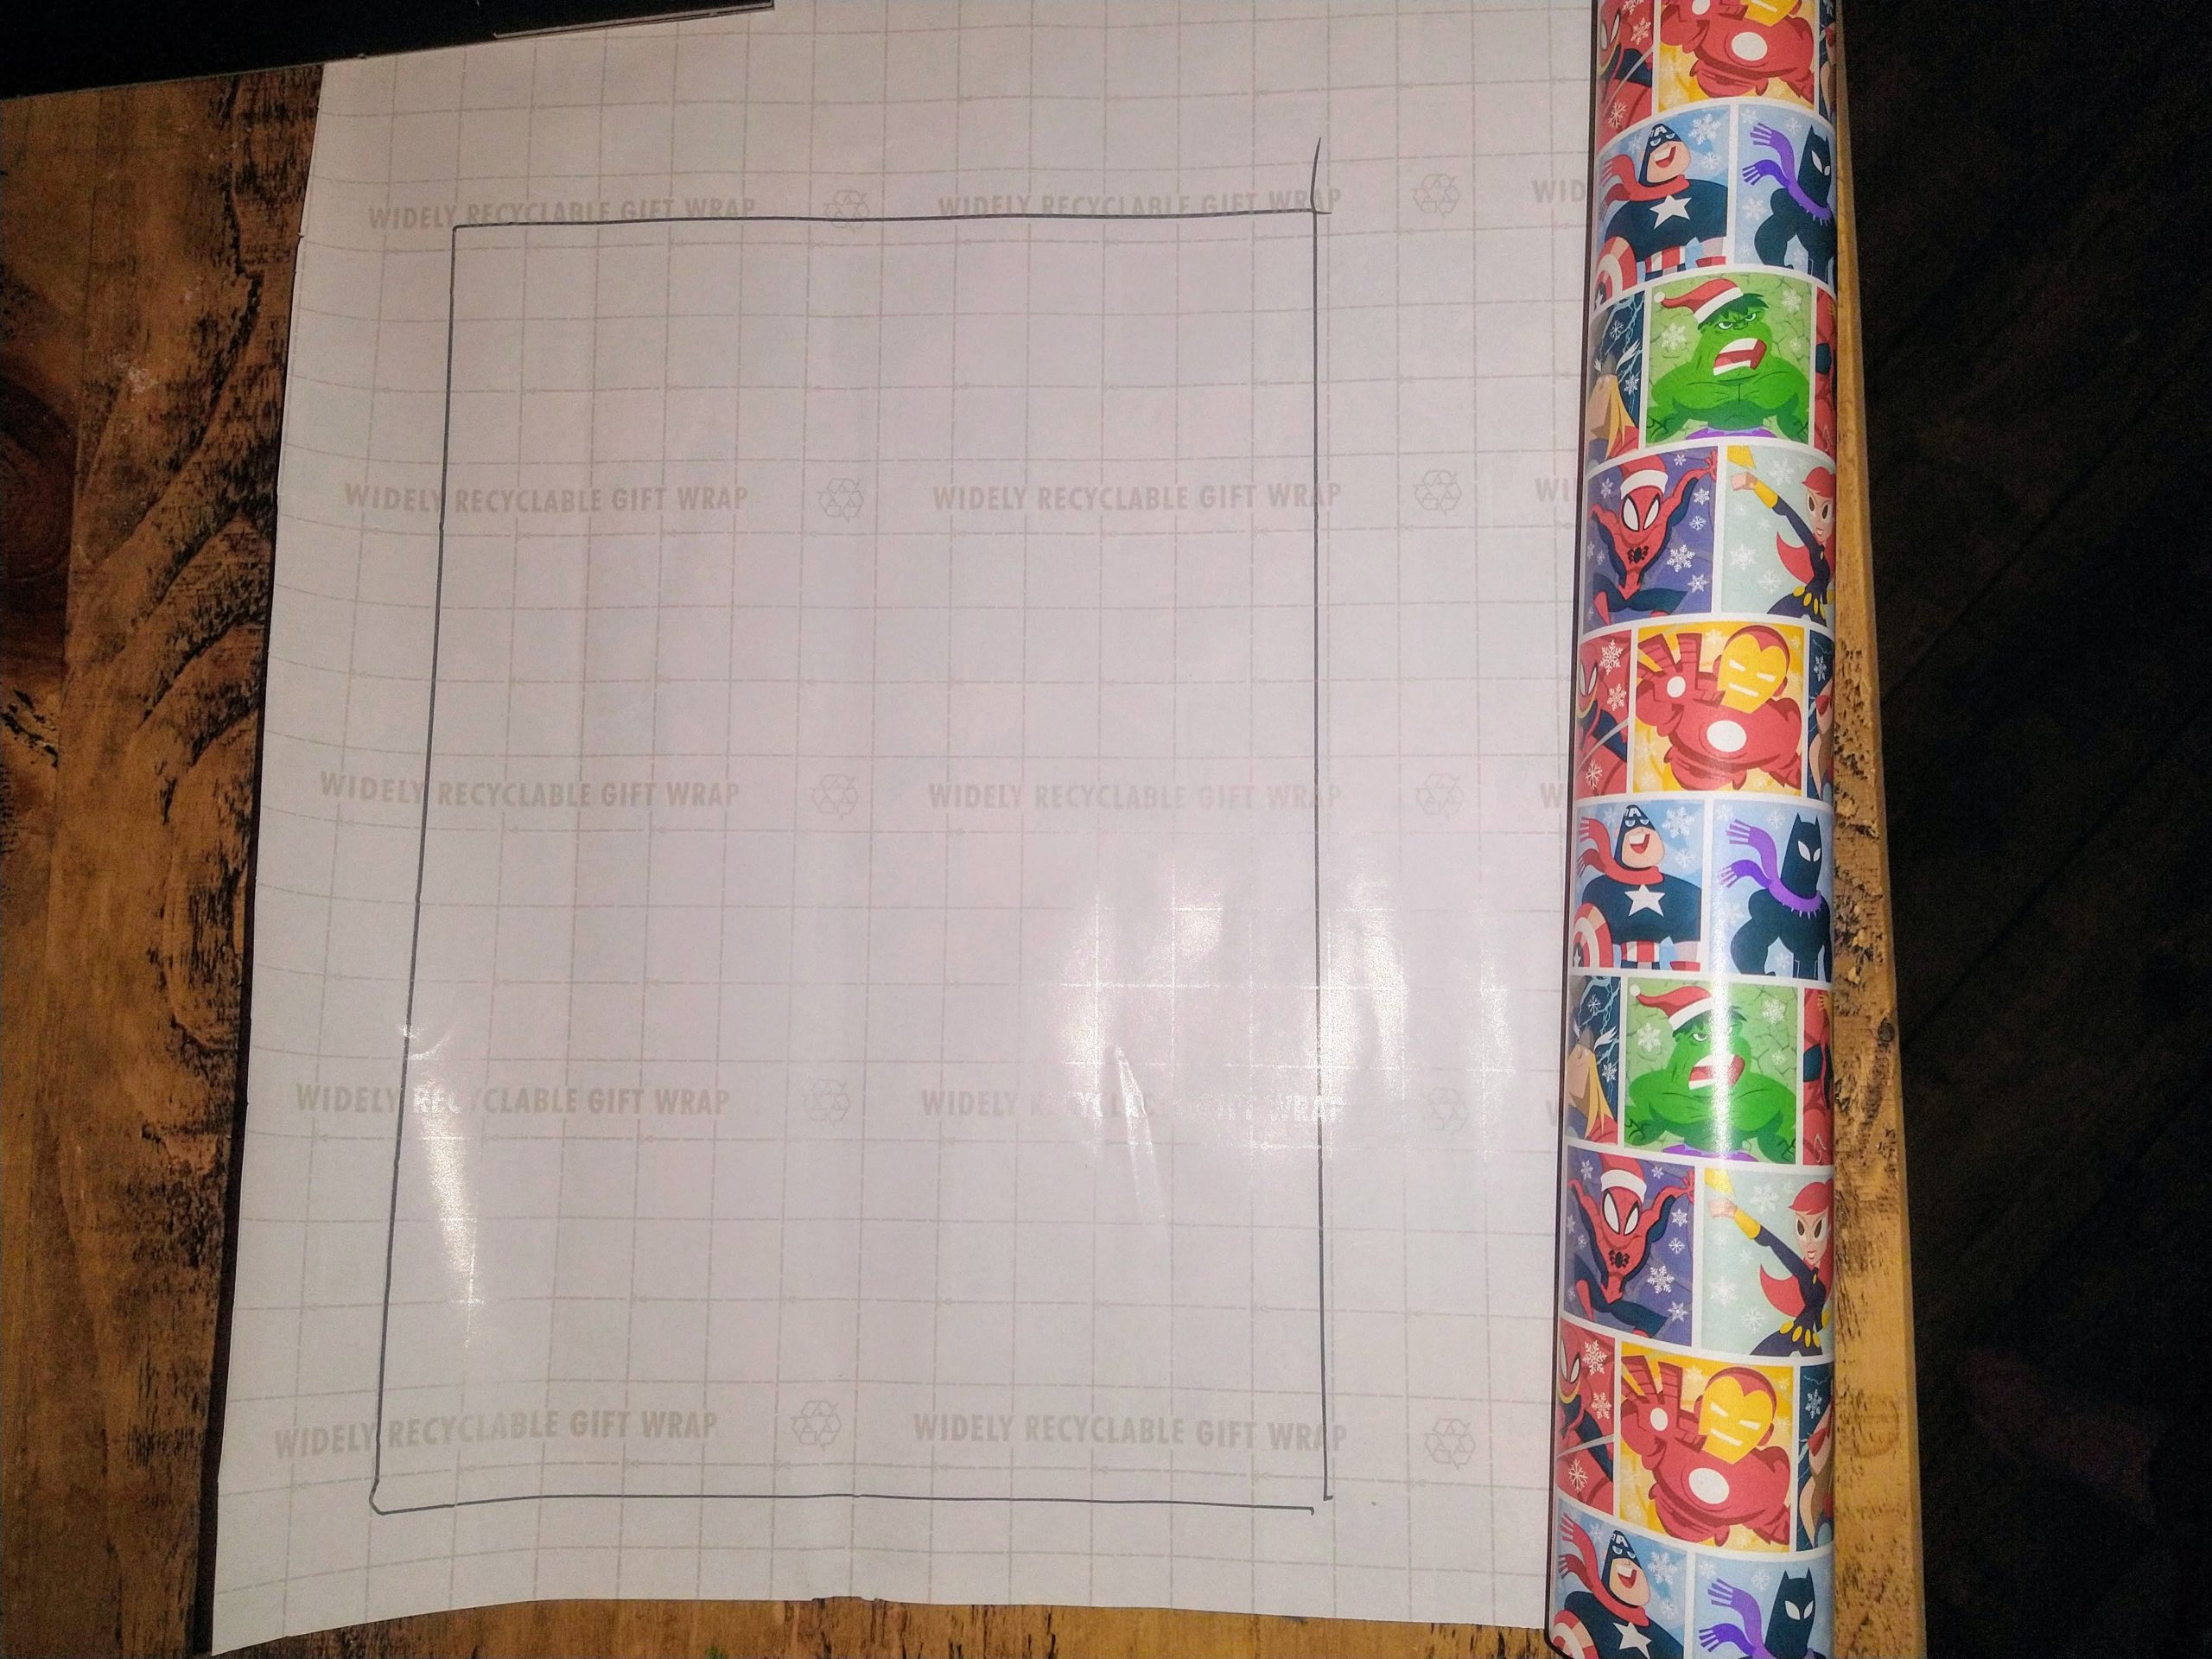
To make this all you to do is remove the cardboard backing and place on the wrapping paper. Draw around it to make cutting lines.Snip around the lines and you have your background. Now decide what letters you want and cut them out. Depending on your enthusiasm and skill you could print these or you can freehand your design. Now if you want precision and like things neat stick the letters to the patterned side of the paper. This will also stop the letters from slipping. Just remember not to use too much glue to stop them becoming misshapen. Things to consider before you start cutting your wrapping paper look at the direction of the picture and how you want it to look. So just check your placement.

Use the back of the frame to create cutting lines 
Cur out and then create your letter. Combine and add in the frame.
Let me see what you create tag me on instagram @jenjensdesignsuk


Comments